Scan for New Requests
Now the analysis is done and the resources are ready. It's time to translate the business process into actual flows. In this lesson you'll meet the Flow Editor, build your first flow, and use the Directory Scanner and Email components.
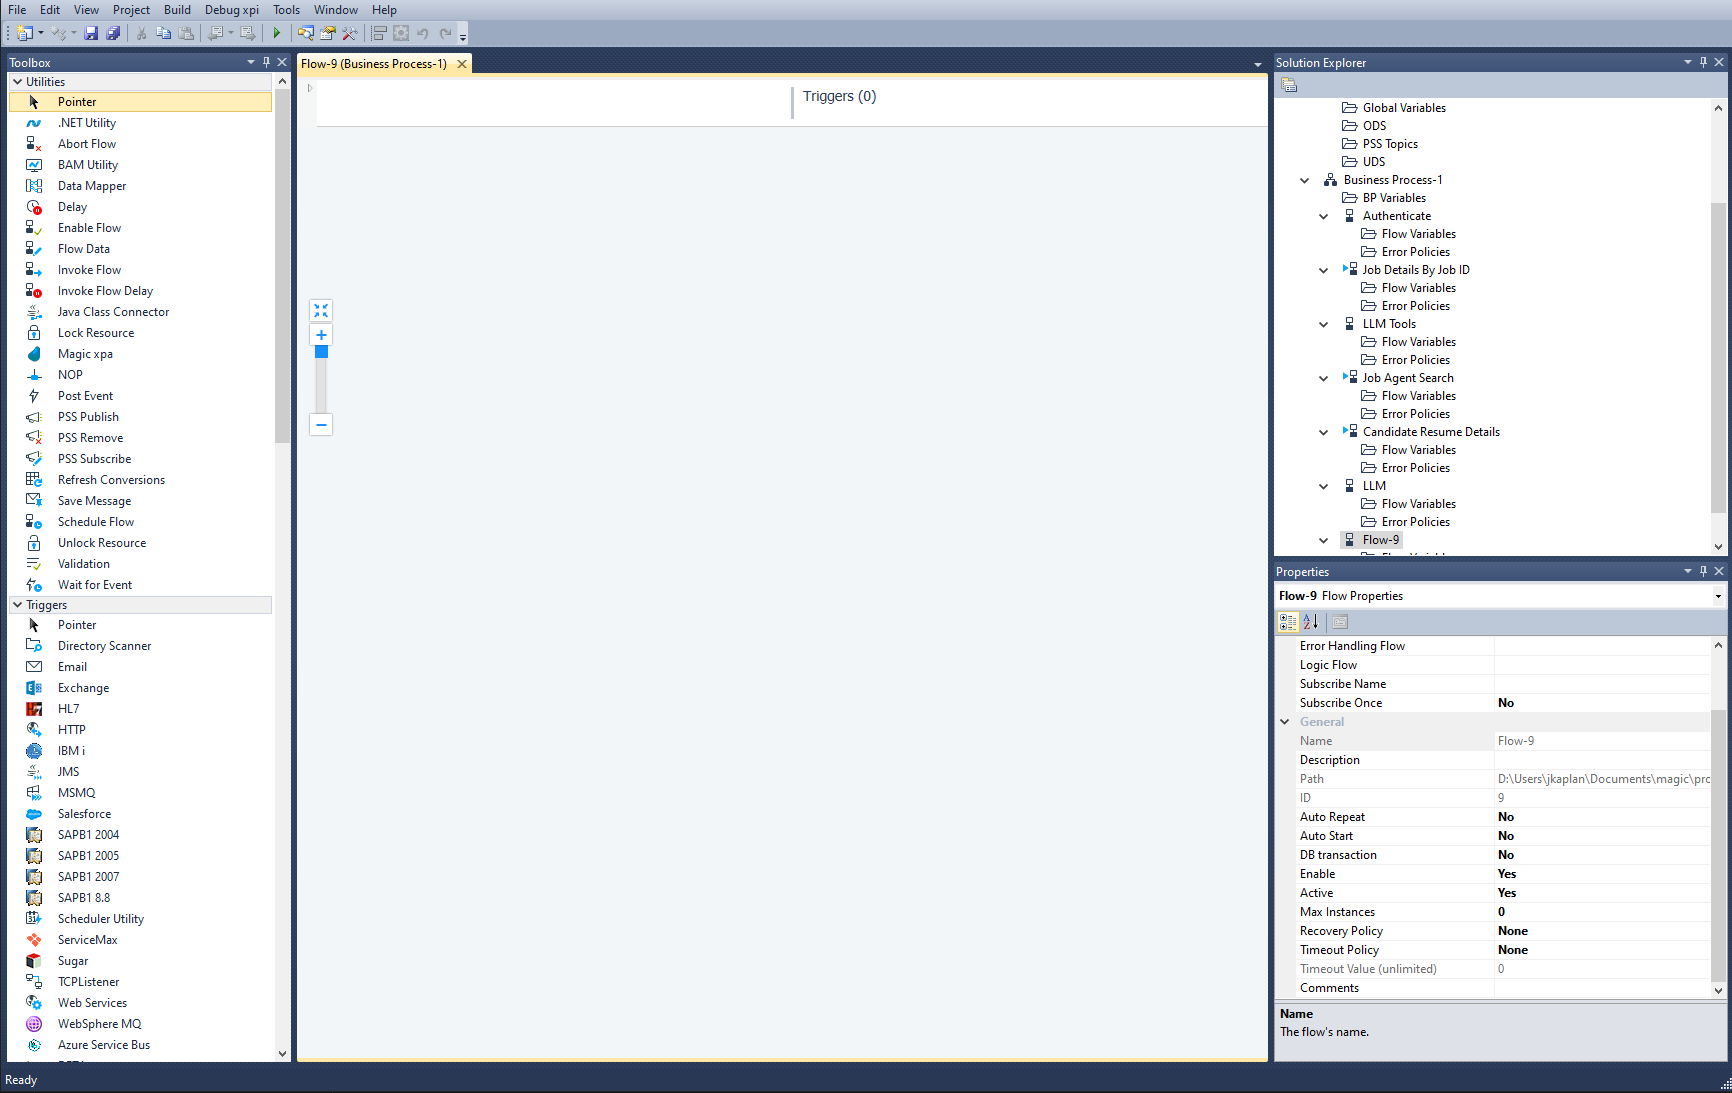
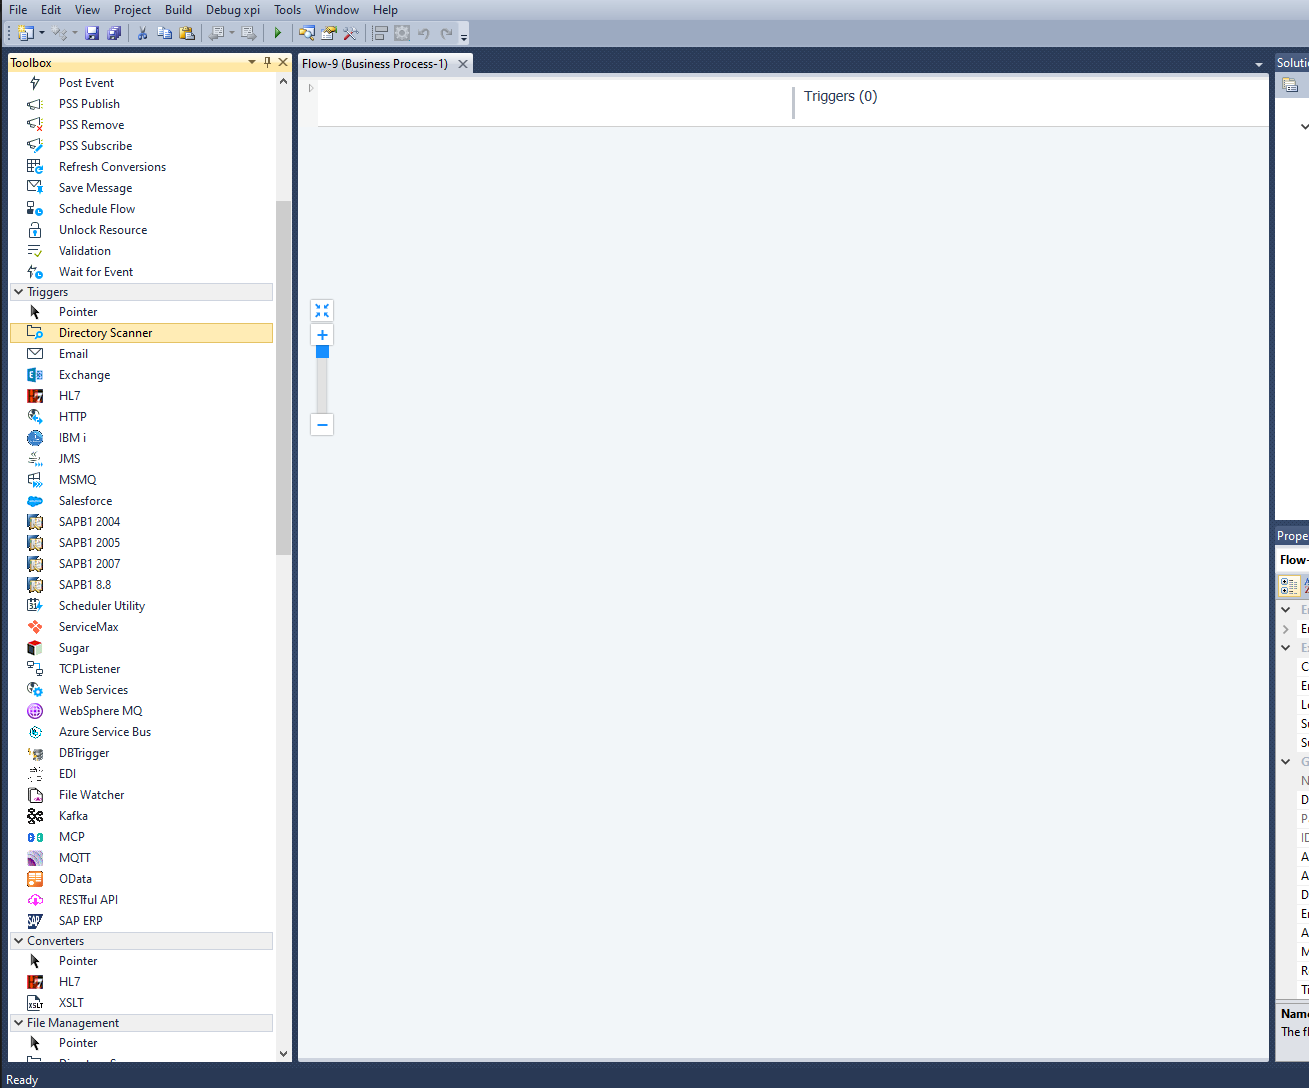
The Flow Editor
The Magic xpi Studio has three primary panes:
- Solution Explorer — lists projects, business processes, flows, repositories.
- Toolbox — the flow components and triggers you can drop onto the canvas.
- Main pane — the Flow Editor, where the actual flow is built.
The Flow Editor itself has two areas:
- Trigger area — defines when and how a flow is invoked.
- Flow area — the body of the flow, where you wire components together.
Defining a flow
When you create a project, Magic xpi adds a default flow named
Flow-1. You can rename it to suit the integration project.
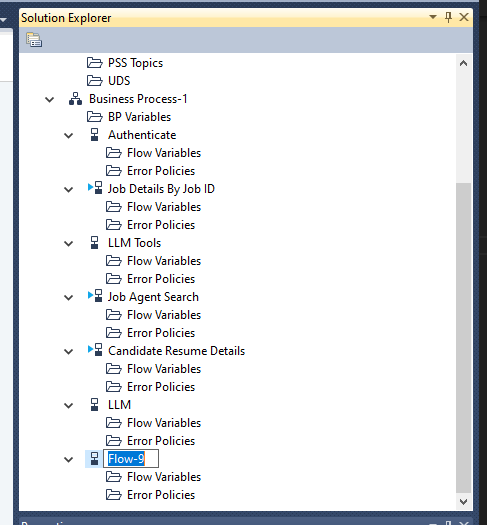
Renaming flows
- In the Solution Explorer, select
Flow-1. - Right-click and choose Rename.
- Type Scan for New Requests and press Enter.
Creating a new flow
- Right-click the Business Process where the flow should live.
- Choose Add Flow. A new flow is created with the name
Flow-N.
Flow properties
Each flow exposes a set of properties. To inspect them, select the flow, right-click, and choose Properties. The Properties pane groups properties under General, Enablement, and External.
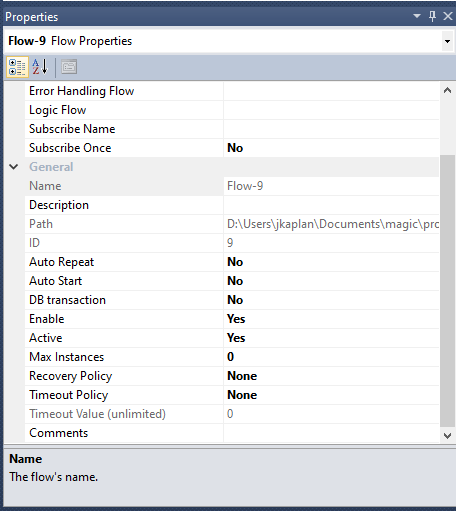
| Name / Description | Identification and documentation. |
|---|---|
| Auto Repeat | Re-runs the flow whenever the last step finishes — creates a loop. |
| Auto Start | Invokes the flow when the project loads on the Server. |
| DB Transaction | Selects which transactional resources participate in this flow. |
| Enable | Turns the flow on or off at deployment time. Can be toggled at runtime via the Enable Flow utility. |
| Active | Excludes the flow from the Checker and from deployment when set to No. |
| Max Instances | Hard cap on simultaneous invocations — 0 means unlimited. |
| Recovery / Timeout Policy | Behavior on errors and on long-running steps. |
Introducing context variables
When a flow runs, it often needs a temporary place to store information — to refer to it later, or pass it between flows. Magic xpi predefines context variables you can reuse, and you can define your own.
You'll use these predefined context variables in this lesson:
C.UserString | String, up to 1,000 characters. |
|---|---|
C.UserCode | Numeric, up to 12 digits. |
C.UserBlob | Binary data. |
C.UserXML | Text data; commonly used for XML payloads. |
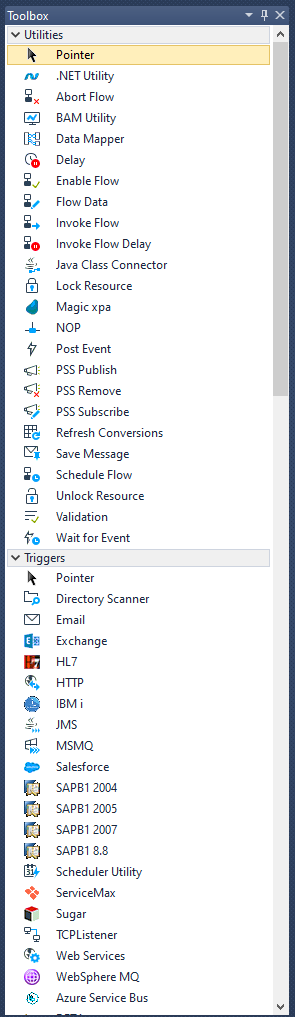
Flow components
Magic xpi ships an extensive component library — connectors, adapters, converters, and processors — surfaced in the Toolbox under headings for their category.
Directory Scanner component
The course business process drops requests into a directory on the server. A flow then watches that directory for new files and processes them. The Directory Scanner component is purpose-built for this: it checks LAN and FTP directories for matching files and can move, copy, delete, or rename them as part of the same step.
The Directory Scanner runs in two modes:
- Step mode. Once per execution, with a configurable timeout. The step finishes when the first matching file is found or the timeout elapses.
- Trigger mode. Fired by the Server — keeps scanning the directory while the project is running.
Placing the component
To use a component, drag it from the Toolbox onto the Flow Editor.
- Click the Directory Scanner component in the Toolbox under Triggers.
- Hold the left mouse button, drag onto the canvas, and release.
Component properties
Once placed, each component shows its properties in the Properties pane:
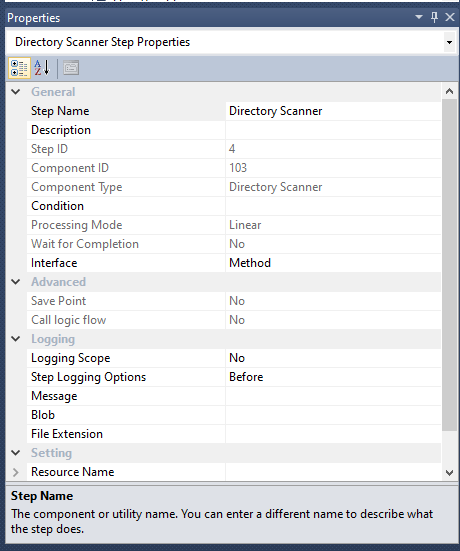
| Step Name | The name shown on the canvas and in the logs. |
|---|---|
| Step ID / Component ID / Type | Read-only identifiers. |
| Condition | Boolean expression that decides whether the step runs. |
| Processing Mode | Linear, Parallel, or Stand Alone. |
| Wait for Completion | Whether to wait for parallel siblings before continuing. |
| Interface | XML (configured by an XML file) or Method (configured via the Direct Access Method dialog). |
| Logging Scope / Step Logging Options | Per-step logging detail. |
| Resource Name | Selects which resource provides connection details (only used for FTP modes). |
For this exercise, set Step Name to Scan Directory and Interface to Method.
Configuring the Direct Access Method
Most components must be configured with their actual behavior. An unconfigured component shows a red wheel in the upper-right corner; double-click it (or right-click » Configuration) to open the configuration dialog. For the Directory Scanner you'll use the Direct Access Method:
- Click Add to add a method.
- Select LAN to LAN from the combo — this moves files between two local directories.
- Fill in the parameters listed below.
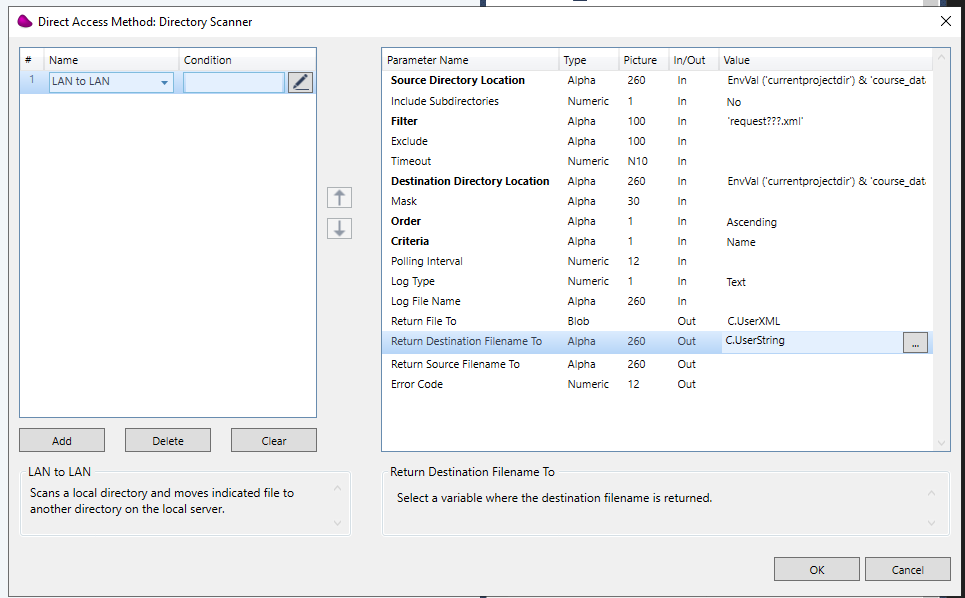
| Source Directory Location | EnvVal('currentprojectdir')&'course_data\in\' |
|---|---|
| Filter | 'request???.xml' — the ? wildcards match a single character. |
| Destination Directory Location | EnvVal('currentprojectdir')&'course_data\out\' |
| Order | Ascending |
| Criteria | Name |
| Return File To | C.UserXML — the file content is returned here. |
| Return Destination Filename To | C.UserString — the destination file name is returned here. |
EnvVal. EnvVal('currentprojectdir')
resolves to the project's directory at runtime. You'll learn the full
Expression Editor in the next lesson; for now, type the expression literally.
Exercise
Time to put it together — you'll add an Email step and prove the flow works end-to-end.
Email component
The Email component sends and receives email messages, including attachments. It can send/receive multiple messages at once and filter received mail by criteria. For this exercise you'll use the Quick Send method, which opens the connection, sends a single message, and closes the connection.
- Drop an Email step after the Scan Directory step. Name it Send Email to Sales. Use the Quick Send method.
- Use these field values:
- To: your own address (so you can verify the test). Hard-coded for now — you'll switch to a global variable in Lesson 6.
- Subject: A new request has arrived
- Body: A new request has arrived.
- Attachment: the original request file. Hint — look at
C.UserStringset by the Directory Scanner.
Test it
- Click the Scan Directory step and from the context menu choose Breakpoint (a red dot appears).
- Right-click the Scan for New Requests flow and choose Debug.
- Magic xpi runs the Checker first; fix any reported errors.
- In the Context Tree, click Scan Directory (n) and choose Step — repeat until both steps complete.
- Open the Debug xpi menu and choose Stop Debugging.
- Check your inbox for the test message.
Summary
You can now:
- Add and rename flows in a Magic xpi project.
- Configure flow properties.
- Drop components onto the canvas and configure them.
- Use the Directory Scanner and Email components.
- Use the Debugger and breakpoints to walk through a flow.